Analogue Productions Ultimate Analogue Test LP for precise turntable setup
$
40


Favourite Auctions
To save auctions to your favourites, please login
If you don't have an account, please register
Description
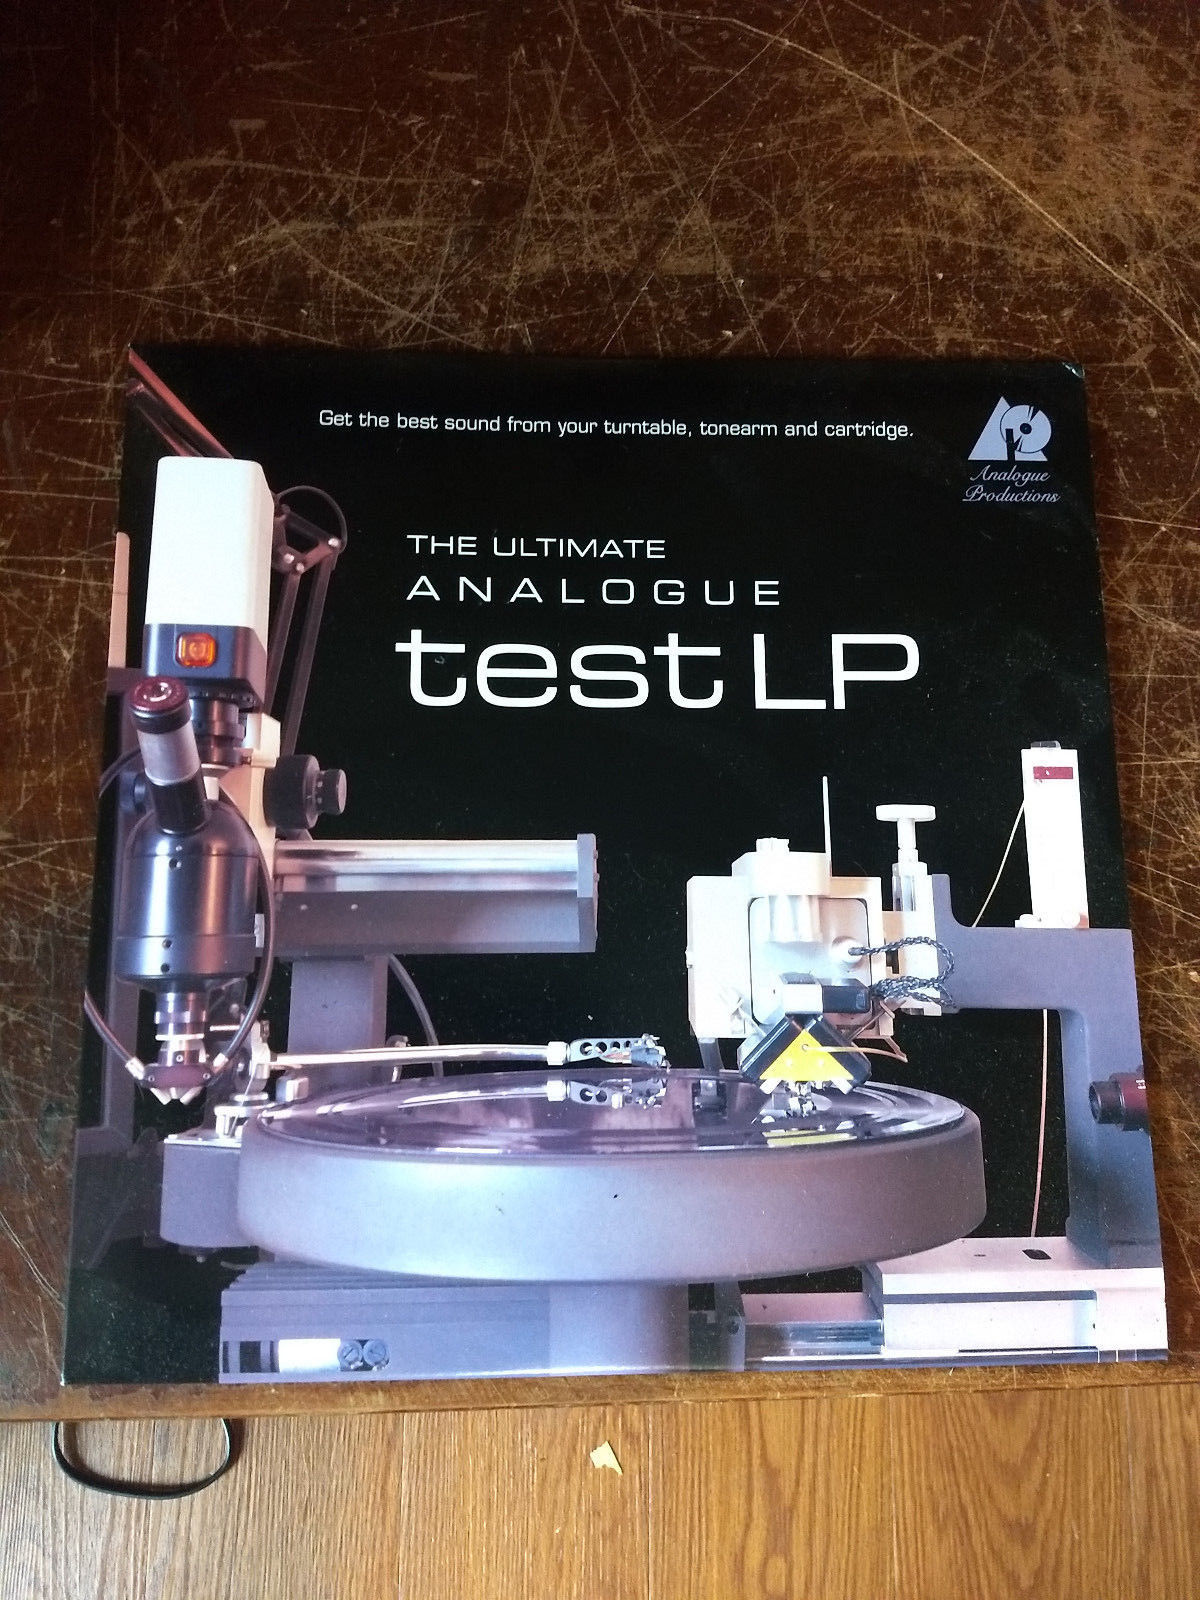
The Ultimate Analogue Test LP in very good condition. Its to help set up your turntable. Thanks Description Below: Analogue Productions set out to produce the ultimate test record.
We’ve consulted many experts in the field, including mastering engineers, audio experts, turntable experts and audiophile listeners, to create a test record that's never been made before. When Barry Wolifson from Sterling Sound in New York City called us with the same idea we had been thinking about – that being to create the ultimate test record – he and our audio expert Clark Williams began to brainstorm and research ideas until they were both completely satisfied with what should go on the record.
Most of the test records in the past have been made to test a variety of equipment. This test record excludes silly cannon shots, typewriters, voices on one channel and other useless fluff. This one specifically addresses your turntable and cartridge. It’s designed to provide the basic test signals necessary to calibrate a turntable or cutting lathe as simply as possible. Most of the signals have specific implications, but it is certainly possible to use them in any number of novel ways.
This record was pressed at Quality Record Pressings on 180 gram vinyl.
Side 1
General Reference Level
This 1 kHz reference tone will allow you to establish a “base level” for all measurements.
Track 1 1Khz reference tone 7cm/s Mono, in phase (Lateral)
Basic reference for all measurements, adjust meter for maximum convenience (in the studio 0VU).
Adjust preamp channel balance for equal output.
Also used to check the offset angle of the photo cartridge; L&R signals should be exactly in phase as displayed on an oscilloscope.
Azimuth Adjustment
Track 2 1kHz reference level Left channel only
Measure Right channel output.
Track 3 1kHz reference level Right channel only
Measure Left channel output.
The object is to sit the stylus exactly perpendicular in the groove.
Twist cartridge about its radial axis until the measurements from Track 2 and Track 3 are equal or very close to equal for both channels.
High Frequency Adjustment
Tracks 4, 5 and 6 are used to calibrate the RIAA high frequency equalizer of a phono preamp. This will be used to calibrate a mastering lathe’s phono preamplifier or any phono preamplifier that has these adjustments.
Track 4 1 kHz tone at -20 below reference level, Lateral
Reference for High Frequency test.
Track 5 10 kHz reference tone at -20dbu, Lateral
Adjust the high frequency until the output level equals that of Track 4.
Track 6 1 kHz to 20 kHz sweep at -20dbu, Mono (Lateral)
The AC millivoltmeter reading should stay constant across all frequencies. There are a number of factors which can affect frequency response, including cable capacitance, cartridge loading, tracking force and worn parts. Because of this, it can be difficult to achieve perfectly flat frequency response. Sometimes by making small compromises in the 10 kHz adjustment, a better overall frequency response can be achieved.
Low Frequency Adjustment
Tracks 7 & 8 are used to calibrate the RIAA low frequency equalizer of a phono preamp.
Track 7 1 kHz to 20 Hz sweep at 0 VU (Lateral)
Play Track 7 and measure the output with your AC millivolt meter.
Ideally, the output will be flat across all frequencies. When viewed on an oscilloscope, the amplitude would remain constant during the frequency downsweep.
Track 8 100 Hz reference tone at 0 vu (Lateral)
Adjust LF Eq to reference (which is your reading from Track 1).
Track 9 VTA adjust
This is an IEC intermodulation distortion (IMD) test signal; 60Hz & 4kHz 4:1 ratio.
Using an IMD tester, adjust VTA by raising or lowering the tonearm for minimum distortion.
Track 10 Standard Wow & Flutter test signal; 3150Hz
The Wow & Flutter meter will give dynamic speed variations as a percentage deviation from nominal.
Also, the frequency counter should read exactly 3150 Hz for nominal speed. You can use the Hz function on your multi-meter (if so equipped) to verify speed here as well. You can also use to find the measurements at 45RPM. The correct reading at 45RPM would be 4253 Hz (45/33.33) x 3150.
Side 2
Track 1 Anti-skating test; 315Hz amplitude sweep to +12dbu (Lateral)
Signal should remain clean in both channels up to the highest level, both audibly and as viewed on an oscilloscope. In case of distortion, increase anti-skating force or decrease anti-skate until breakup occurs equally in both channels. The left channel information is inscribed on the inner groove wall, the right channel information, on the outer groove wall. Because of the offset angle of a pivoted tonearm, a constantly varying vector force biases the arm towards the center of the record causing the stylus to lose contact with the outer (i.e. right channel) groove wall. Both linear and modulated groove velocity, tracking force, stylus profile, and vinyl composition are contributing factors. The anti skating force attempts to ameliorate this by applying an opposing similar force.
It is also accepted that the overall force vector increases as the tonearm approaches closer to the spindle or end of the record.
Track 2 Pink noise lateral
Track 3 Pink noise vertical
Used for cartridge “demagnetizing”
You can also use this track to loosen up the cantilever’s suspension to help break in a new cartridge. Play these tracks five to ten times after every 300 hours of normal LP playback.
Track 4 1kHz @ reference level, vertical
This out-of-phase signal should cancel to nothing when summed to mono.
Any signals still present are distortion artifacts, lack of channel balance, or timing (phase) anomalies. This test can be a second confirmation of anti-skate adjustment.
Track 5 1kHz to 10Hz sweep @ -20 below
reference level, vertical
Resonance anomalies in the tonearm / cartridge interface will show up as amplitude peaks and dips as the frequency sweeps down.
Once again, by listening in ‘Mono’ it is easier to hear the distortion artifacts.
Track 6 Silent groove for bearing rumble and table isolation
During playback of this track, nothing should be transmitted from the turntable to the speakers. Replay the track and gently tap on the rack or base that the turntable is resting on. There should be little or no thump transferred to the speakers. This track will help you experiment with turntable isolation methods and products to be able to get the most out of your playback system. You may want to use a closed or sealed headphone for best listening results, or a stethoscope on the plinth.
1. 1kHz Reference Tone (Mono) 2. 1kHz Reference Level (Left Only) 3. 1kHz Reference Level (Right Only) 4. 1kHz Reference Tone (-20dB) 5. 10kHz Reference Tone (-20dB) 6. 1kHz - 20kHz Sweep (-20dB) 7. 1kHz - 20kHz Sweep (0VU) 8. 100Hz Reference Tone (0VU) 9. VTA Adjust 10. Standard Wow & Flutter Test (3150Hz) 11. Anti-Skate Test (315Hz, Sweep 0dB - +12dB) 12. Pink Noise (Lateral) 13. Pink Noise (Vertical) 14. 1kHz Reference Level (Out-of-phase) 15. 1kHz - 10kHz Sweep (-20dB) 16. Silent Groove
Customer Reviews (4.75 Stars) 8 person(s) rated this product.
Additional information about setting up azimuth
posted on 01/05/20165 Stars
Reviewer: Jerald I just read this article on Sound-Smith dot com
http://www.sound-smith.com/faq/how-do-i-set-azimuth-adjustment- my-cartridge. There is a very good suggestion on how to make this adjustment on any tonearm
I have this test LP and a Fozgometer and it was very easy to adjust the Triplaner MK VII to get the results on the Fozgometer as per the instructions.
Setting azimuth
posted on 01/04/20165 Stars
Please explain. When properly configured, the azimuth tracks 2 and 3 must be in phase or antiphase?
Excellent for Experts, only moderately helpful for others
posted on 06/25/20104 Stars
Reviewer: Melanie This test record is amazing, a valuable tool, but its full value is for those with a deep body of technical knowledge on TT set-up. Despite my decent experience and fair degree of reading, I was unable to fully utilize and benefit from the lp--mainly due to knowing how to set-up, yet not the proper terminology, and lacking the additional testers/counters. Nevertheless, side 2's anti-skate test, "demagnetization" tracks, out-of-phase and resonance anomalies tests, and, especially, the silent groove to test for bearing rumble and TT isolation are extremely helpful and far more "do-able" and generally comprehensible. An insert with more detailed instructions for the less technically savvy would be a superb addition (esp. given side 1's important tests)! In conclusion, if your technical knowledge is high and tools ample, you ought to own this test record; if your knowledge is more experiential than properly terminological, expect about half of it to be useful and half to be baffling.
Good as far as it goes
posted on 07/24/20094 Stars
Reviewer: Peter Most of the tracks on this LP are useful. But the two tracks that you use to set cartridge azimuth (the 1 KHz left-channel only and 1 KHz right-channel only) are way too short to be useful. Measuring crosstalk takes time, and there simply isn't enough of either of these tracks to allow you to do this without stopping what you're doing, starting back at the beginning of the track, until you've got it right. But the record is nicely pressed and packaged, and the constant 3150 Hz, downsweep, and silence tracks are very good diagnostics.
Thanks for the suggestions and please keep posting
posted on 04/26/20085 Stars
Reviewer: Chris Muth I was one of the guys who worked on this disk and want to thank everyone else who made this and those who have suggestions for use and comments posted. It is always a challenge to figure out what to put on a disk and jacket, where to put it, and how to repair and align the cutting lathe and tone generators (my job) for the easiest presentation (etc.) I want to especially thank George Marino and Barry Wolifson for their friendship and general technical and artistic excellence. Also, the people at RTI, who paid more attention than their normal excellent job to press this disk and do justice to the rock steady VMS-80 attributes, didn't hang up when we asked them to run the press cycle for longer than normal. Thank you all again and keep posting!
Vinyl Rules!
Must-have test LP
posted on 03/10/20085 Stars
Setting up your cartridge properly is a daunting task (at least it was for me). The 'Analogue Productions - The Ultimate Analogue Test LP' makes it not only doable, but is essential if you want your cartridge aligned properly. I would recommend using an oscilloscope to get the most out of the LP. To avoid one pitfall, on setting up the azimuth with Tracks 2 and 3 on Side 1, look at BOTH channels on the oscilloscope, not only minimizing and equalizing the crosstalk in the non-signal channel, but also maximizing and equalizing the other (signal) channel simultaneously. Without doing this, I found it difficult to find 'the' critical point. Otherwise, I found the test LP very accurate and easy to use. After using this test LP, my cartridge/arm/turntable sounds MUCH better than it ever has. By the way, this equipment comprises a VPI TNT Mk. IV turntable, Wheaton Triplanar VI tonearm, and Transfiguration Temper Supreme cartridge.
1.
2.
3.
4.
5.
6.
7.
8.
9.
10.
11.
12.
13.
14.
15.
price rating